
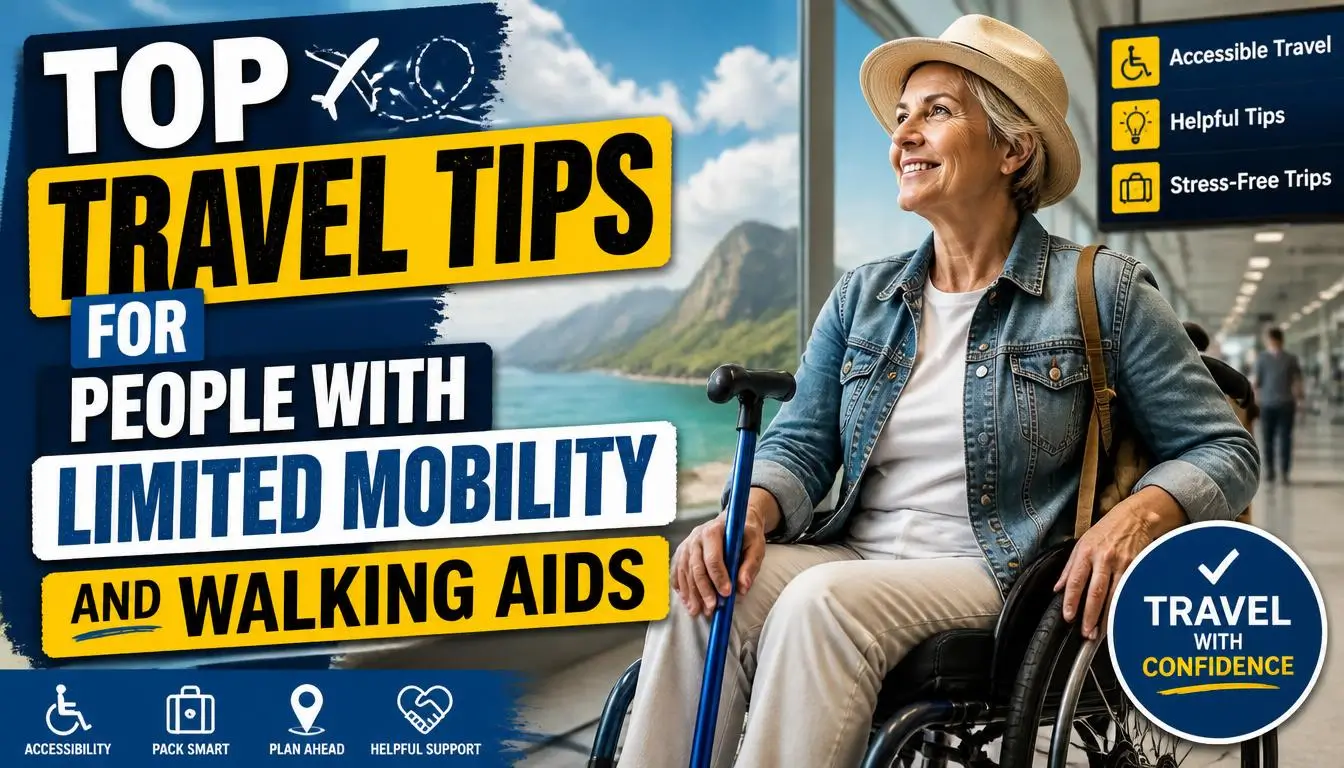
Finding honest travel tips for people with limited mobility using walking aids takes longer than it should, mostly because so much of what exists online reads like it was written by someone who has never actually tried to navigate a cobblestone street in a historic European city with a rollator. I have. I’ve also missed trains because the accessible route added twenty minutes, waited forty-five minutes for an elevator that turned out to be broken, and discovered mid-trip that my “accessible” hotel room had a shower step nobody mentioned. What follows is what I actually know works.
Understand That Accessibility Claims Require Verification
The single most important mindset shift for mobility aid users planning any trip is this: never take an accessibility claim at face value without asking specific follow-up questions.
Hotels, attractions, and transport providers describe themselves as “accessible” with remarkable optimism and remarkably little consistency. What one property considers an accessible bathroom is a roll-in shower with grab bars and a fold-down bench. What another considers accessible is a slightly wider doorway and a bathroom that technically fits a wheelchair if you hold your breath. Call every property directly before booking and ask specific questions. How wide is the bathroom doorway in inches or centimeters. Is there a lip or step into the shower. How many steps between the entrance and the elevator. Is the elevator large enough to accommodate your specific aid. Is the accessible room actually near the elevator or at the end of a long corridor. These questions feel excessive until the alternative is arriving somewhere that doesn’t work and having no options left.
1. Research Your Destination’s Terrain Before You Book Anything
Destination terrain is the factor that most dramatically affects the experience of traveling with a walking aid, and it rarely appears prominently in travel guides written for the general population.
Some cities are genuinely friendly to walking aid users. Barcelona, Singapore, Tokyo, and Amsterdam have invested heavily in accessible infrastructure with smooth pavements, reliable elevators in transit systems, and generally flat city centers. Others are beautiful and genuinely difficult. Lisbon’s famous hills and cobblestones are charming in photographs and punishing with a rollator or crutches. Rome’s ancient streets are gorgeous and deeply uneven underfoot. Santorini’s iconic views involve staircases that have no accessible alternative in many areas. This is not a reason to avoid these places entirely. It’s a reason to research specific neighborhoods within them, choose accommodation in flatter areas, and plan realistic daily distances before you arrive rather than after. The Lonely Planet Accessible Travel guides and Curb Free with Cory Lee blog are both genuinely useful starting resources for destination-specific terrain research.
2. Choose Accommodation on the Ground Floor or Directly Elevator-Adjacent
Elevator proximity is not a luxury preference for mobility aid users. It is a functional necessity that significantly affects daily energy expenditure and trip enjoyment.
Request a room on the lowest available floor with elevator access and confirm this assignment before you arrive, not when you check in. Ask specifically whether the elevator is large enough to accommodate your walking aid with room to maneuver. Standard hotel elevators in older European buildings are sometimes barely large enough for one person with a small bag, let alone a rollator or forearm crutches with a rolling suitcase. Also ask about the distance from the elevator to your specific room. A ground floor room that requires walking two long corridors to reach still costs energy you may need for the actual trip. Airbnb and Vrbo both have accessibility filters now, but treat them as a starting shortlist rather than a guarantee and follow up with the host directly using specific questions before confirming any booking.
3. Pack Your Walking Aid Supplies Like a Professional
Running out of tennis ball glides, ferrule tips, or crutch padding mid-trip in a country where your specific walking aid brand isn’t sold is an entirely avoidable problem that derails more trips than it should.
Before any trip, check every component of your walking aid as if you’re doing a pre-flight inspection. Rubber ferrule tips on crutches or canes wear down with heavy use and become dangerously slippery on smooth floors when worn through. Rolling wheels on rollators need to spin freely and lock correctly. Seat fabric on rollators should be intact and the brake cables should engage cleanly. Carry two spare sets of ferrule tips or replacement wheels depending on your aid type, a small roll of grip tape, and the basic tool required to tighten any loose components on your specific model. For crutch users, gel underarm pads and ergonomic handgrip covers reduce fatigue and pressure sores on longer walking days in ways that standard crutch padding simply doesn’t.
4. Plan Your Daily Distance Honestly and Then Cut It in Half
Every mobility aid user I’ve spoken to about travel, and I’ve spoken to many, identifies the same mistake in their early trips: dramatically overestimating how much ground they can cover in a day.
The distance that feels manageable at home, with familiar terrain, your own bathroom nearby, and the option to sit down anytime you want, is not the same distance that feels manageable on unfamiliar ground with variable surfaces, more stimulation, and less control over rest opportunities. A reasonable starting point for planning purposes is to take what you think you can handle in a full travel day and reduce it by about a third. Build in genuine seated rest stops every forty-five to sixty minutes rather than pushing through to a planned destination. Identify seated rest points along your planned routes before you go using Google Street View, which lets you scout benches, café terraces, and shaded seating areas along specific streets from home. It sounds like excessive preparation. It is exactly the right amount of preparation.
5. Use Airport Assistance Services Without Any Apology
Airport assistance, specifically the wheelchair or electric cart service available at almost every major international airport at no cost, is one of the most underused resources available to mobility aid travelers. The hesitation I hear most often is some version of “I can manage, I don’t want to be a burden.” Please set that aside entirely.
These services exist precisely for travelers whose mobility makes long airport distances, crowded concourses, and rapid gate changes genuinely difficult to navigate safely. Request assistance when you book your flight and confirm it again at check-in. In the U.S., the Air Carrier Access Act legally requires airlines to provide this service at no charge. In Europe, EU Regulation 1107/2006 covers the same ground for air travel within and into EU countries. The assistance typically includes escort through security, transport to your gate, help with boarding, and deplaning support at your destination. Using it doesn’t define the limits of your ability. It conserves the energy you need for the actual trip rather than spending it on the airport.
6. Select Seats Strategically on Every Flight and Train
Where you sit on any form of transport affects your comfort, your access to the aisle, and how much energy you spend getting on and off, and it deserves deliberate thought rather than defaulting to whatever seat the booking system assigns.
On flights, bulkhead seats and exit row seats offer more legroom but exit rows legally cannot be occupied by passengers who may need assistance evacuating, so bulkhead is usually the better choice for mobility aid users. Aisle seats give you independent access to the aisle without climbing over other passengers. Request your preferred seat when booking and follow up if the seat map shows it unassigned. On trains, look for priority seating near the doors and book in advance through the rail carrier’s accessibility booking line rather than the standard booking system, which often doesn’t surface the full range of accessible seat options. In the UK, Passenger Assist through National Rail handles this well with advance notice. In Europe, most national rail operators have equivalent services worth contacting before travel.
7. Carry a Folding Seat for Unpredictable Situations
The difference between a frustrating queue and a manageable one, between an interesting walking tour and an exhausting one, is often simply whether you have somewhere to sit during unexpected waits.
A lightweight folding travel seat or walking stick seat that attaches to a standard cane or collapses into a small standalone stool is one of the most practical items a mobility aid traveler can carry. The HurryCane Freedom Edition has a built-in seat option. Standalone folding travel seats from brands like Walkstool pack small enough to attach to a day bag. Museum queues, bus stops, street food markets, and scenic overlooks frequently have nowhere to sit. Having your own option removes the dependency on finding external seating and gives you genuine control over when and where you rest. I carried a folding seat for three weeks in Japan and used it almost every single day.
8. Identify Accessible Toilets Along Your Planned Routes in Advance
This is the practical detail that virtually no travel guide addresses and that every mobility aid traveler knows matters enormously on a full day out.
In many countries, accessible public toilets require a key or access code rather than being freely open. In the UK, the RADAR key scheme provides access to around 9,000 accessible public toilets nationwide and the key costs a few pounds and is available through Disability Rights UK. In Australia, a similar National Public Toilet Map is available as a free app and covers accessible facilities across the country. Google Maps’ accessibility filters help identify accessible facilities in many cities globally, though coverage is inconsistent. Apps like Flush and SitorSquat crowd-source public toilet locations internationally and include accessibility ratings. Download whichever is most relevant to your destination before you travel, not after you need it.
9. Hire a Local Accessible Tour Guide for at Least One Day
General tour guides design their routes and pacing for average mobility. Local accessible tour guides design specifically for people whose mobility looks like yours, and the difference in experience quality is significant.
Organizations like Accessible Travel Solutions, Sage Traveling, and country-specific disabled travel operators connect travelers with guides who know which supposedly accessible attractions have hidden steps, which museum elevators are actually reliable, which café has the widest doorway and the most stable seating, and which scenic routes are genuinely manageable versus theoretically accessible. Spending one guided day in a new city builds local knowledge that improves every subsequent independent day. You find out which streets to avoid, which shortcuts exist, and where the genuinely good rest spots are from someone who navigates the city in similar circumstances to yours. That kind of specific, lived knowledge is worth far more than any online accessibility review.
10. Build Recovery Time Into Your Trip Structure
Travel with a walking aid is physically more demanding than the same trip would be without one, and pretending otherwise leads to trips that start well and finish in pain.
A standard tourist itinerary packs activities into every available hour across multiple consecutive days. For mobility aid users, that structure reliably produces a trip where the last two days are spent in the hotel room recovering rather than experiencing the destination. The alternative is building in a genuine rest day for every three to four active days, not a day of doing less, an actual rest day with minimal physical output. Use it to sleep later, eat a slow meal, read, process the trip so far, and let your body catch up with what you’ve been asking of it. Trips structured this way consistently produce better overall experiences and fewer injury flare-ups than the pack-it-all-in approach that works for travelers without mobility considerations. Your pace is your pace. Building a trip around it rather than against it is the smartest travel decision you can make.
Frequently Asked Questions
What are the most accessible international destinations for people using walking aids?
Tokyo, Barcelona, Singapore, and Copenhagen consistently rank among the most accessible cities globally for mobility aid users. All four have reliable elevator infrastructure in public transit, generally smooth pavements in main tourist areas, and strong legal accessibility standards. Tokyo in particular surprised me with how consistently accessible its train stations are, with elevators clearly signed and reliably operational compared to many European equivalents.
How do I fly with a rollator or other walking aid?
Most airlines allow rollators and folding walkers to be gate-checked at no additional charge, meaning you use them until you board and they’re returned to you at the jet bridge on arrival. Notify the airline when booking and confirm at check-in. For non-folding or larger mobility aids, contact the airline’s accessibility desk directly well in advance to arrange specific handling. Always attach a luggage tag with your contact information to any aid that leaves your hands.
Is travel insurance different for people with mobility aids or disabilities?
Standard travel insurance policies vary widely in how they cover pre-existing conditions and mobility-related equipment. Look specifically for policies that cover your walking aid as medical equipment against loss or damage, cover trip cancellation due to mobility-related health changes, and don’t exclude pre-existing conditions that affect your mobility. Battleface, InsureandGo, and All Clear Travel Insurance all offer policies worth comparing for travelers with mobility considerations. Read the exclusions carefully before purchasing.
How do I handle cobblestone streets and uneven terrain with a walking aid?
Ferrule tips with wider, more grippy bases handle uneven surfaces better than standard narrow tips. All-terrain rollator wheels are worth considering if your destination involves significant cobblestone or unpaved areas. Trekking pole style forearm crutches provide better stability on uneven ground than standard axillary crutches. Planning your routes using Google Street View before arrival lets you identify and avoid the worst stretches before you encounter them in person.
What should I do if accessibility facilities at a destination don’t match what was advertised?
Document the discrepancy with photos and written notes immediately. Report it to the accommodation or attraction management and request an alternative solution before leaving the site. If the failure significantly affects your trip, file a formal complaint with the relevant consumer protection body in that country. In the EU this is handled through national enforcement bodies. In the US, the ADA National Network handles complaints. Leaving detailed and honest accessibility reviews on Google, TripAdvisor, and dedicated accessibility platforms helps other travelers make better-informed decisions than the original advertising allowed you to make.
Conclusion
Traveling with a walking aid takes more planning than traveling without one, but it opens up the same world to you, just approached with more intentionality and a better-packed bag. Every trip I’ve taken has taught me something new about what works, and the learning curve genuinely does flatten over time. Where are you thinking of going, and what’s the one thing you’re most uncertain about planning for it?